I wanted to update this topic with some actual photos of the mount because the best aspect of these acrylic mounts (see above post and login to see the attachment!) is that they are super easy to re-polish.
I'm sure most of us have had to deal with standard mounts where each standard material is individually mounted in a brass sleeve and then inserted in a multi-hole brass mount with a set screw for each standard. But this method requires that the brass sleeves and mount be completely disassembled and then each standard "tube" has to be polished separately. Then ultra-sonically cleaned because the epoxy tends to pull away from the inside of the brass sleeve when it originally was cured, resulting in a tiny gap that can collect polishing compounds and oils/solvents.
With these acrylic mounts seen here:
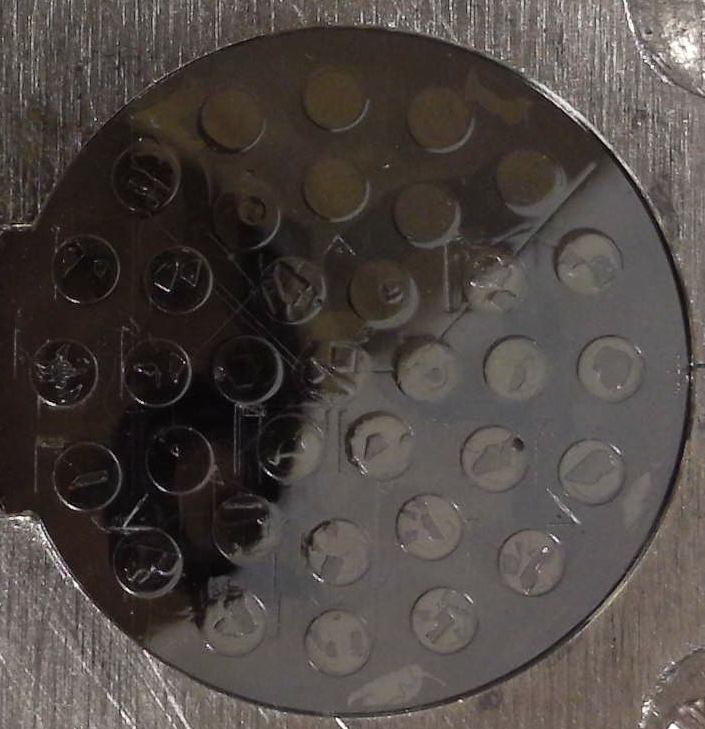
the epoxy completely adheres to the acrylic hole and when the mount is cured, the *entire* mount shrinks by a small amount. But no gaps or cracks!
So to clean these acrylic mounts one merely uses a little 0.05 um colloidial alumina (or silica) on a soft lap and polishes off the carbon (and any oxide buildup and/or beam damage), then just a quick rinse in ethanol (only use pure ethanol to avoid damaging the epoxy!), and then wipe clean with a KimWipe, and dry in a warming oven for a few minutes immediately prior to carbon coating.
This type of acrylic block makes it so easy to re-polish ones standards that you won't hesitate to do it when it needs to be done! And if you look closely at the above photo you can see the carefully scribed vertices of a triangle which contain our three "fiducial" marks for quickly re-calibrating our digitized standard positions when the mount is replaced within the sample holder.
Another standard mounting method which we don't use, but which I have an example of, is similar to the acrylic mounting method, but the epoxy is filled with copper shavings and it has a metal outer sleeve. This mount was labeled the "MAC" mount (when I first arrived in Oregon) and I suspect it came with a very old microprobe many decades ago:
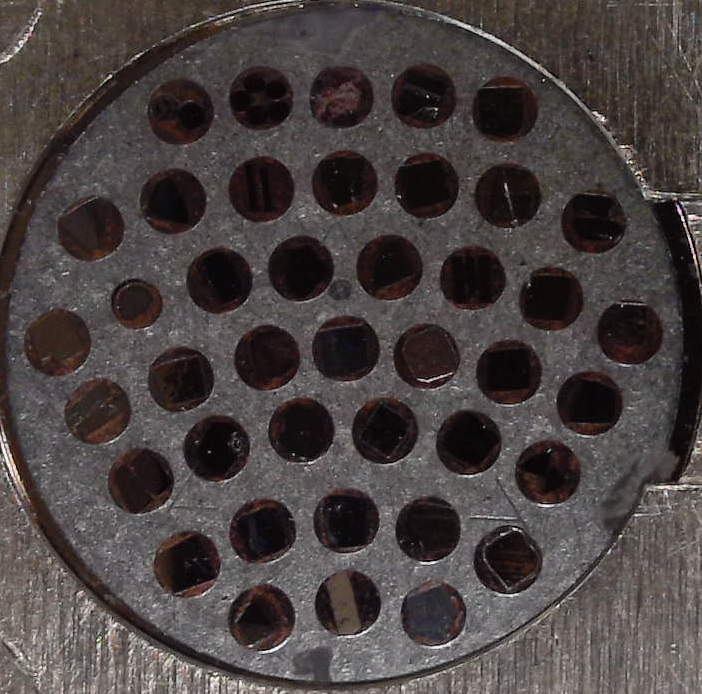
However, for whatever reason, our lab manager Julie Chouinard, had to vacuum re-impregnate it with epoxy because originally it did have some tiny cracks in a few places. Now however, it works great for a quick re-polish.


 If you can't see some "in-line" images in a post, try "refreshing" your browser!